Using RAMP starting-kits
Get the starting-kit
To start working on a specific challenge, you can download the starting-kit directly from the event page (i.e. “Download kit” button).
It will provide a zip file providing all the necessary materials. All RAMP
starting kits can be found on the RAMP starting kits Github repository. Some starting-kits come
with specific instructions (e.g. to download extra data). These instructions
can be found in the README.md.
Install dependencies
To run a submission and the notebook you will need the dependencies listed
in requirements.txt. You can install install the dependencies using the
following command-line:
$ pip install -U -r requirements.txt
If you are using conda, we provide an environment.yml file:
$ conda env create -f environment.yml
Test a submission
The code file(s) (e.g., estimator.py) for each submission needs to be stored
in their own folder, which then needs to be located within the submissions
folder. The name of the folder containing the code file(s) is the name of
the submission. For example, the code file(s) for the submission named
‘my_submission’ should be located at submissions/my_submission. The file
structure should look like this:
<starting_kit_name>/    # root starting-kit directory
├── <various starting kit files>
├── data/
|   ├── train.csv     # data for challenge
|   └── test.csv
└── submissions/
    ├── <starting_kit>/       # example solution that comes with every kit
    |   └── <submission_file.py>
    └── <my_submission>/      # your first submission
        └── <submission_file.py>
To run a specific submission, you can use the ramp-test command line:
$ ramp-test --submission my_submissions
You can get more information regarding this command line:
$ ramp-test --help
The output of the ramp-test command should look like:
Testing Iris classification
Reading train and test files from ./data ...
Reading cv ...
Training submissions/starting_kit ...
CV fold 0
   score   acc  error   nll  f1_70      time
   train  0.58   0.42  1.17   0.33  0.175953
   valid  0.65   0.35  0.52   0.33  0.001978
   test   0.71   0.29  0.80   0.67  0.001837
CV fold 1
   score   acc  error   nll  f1_70      time
   train  0.63   0.37  0.78   0.67  0.011339
   valid  0.65   0.35  0.66   0.67  0.002846
   test   0.54   0.46  0.72   0.33  0.003474
----------------------------
Mean CV scores
----------------------------
   score           acc         error           nll        f1_70        time
   train  0.61 ± 0.026  0.39 ± 0.026  0.98 ± 0.197  0.5 ± 0.167  0.1 ± 0.08
   valid    0.65 ± 0.0    0.35 ± 0.0  0.59 ± 0.069  0.5 ± 0.167   0.0 ± 0.0
   test   0.62 ± 0.083  0.38 ± 0.083  0.76 ± 0.041  0.5 ± 0.167   0.0 ± 0.0
----------------------------
Bagged scores
----------------------------
   score   acc  error   nll  f1_70
   valid  0.65   0.35  0.59   0.33
   test   0.71   0.29  0.66   0.33
Now you are ready to write your own solution for the prediction problem. It is
useful to read the starting kit notebook which will introduce the problem,
provide some data analysis and visualisation and walk you through a simple
example solution. There will also be at least one example submission in
submissions/, which show you which files are required for each submission,
how they need to be named and how each file should be structured.
It is important to check that your submission works locally, using
ramp-test, before you submit your solution to RAMP studio.
Submitting to a RAMP event
To submit your solution to RAMP studio:
Log in at RAMP studio. If it is your first time, you will need to first register.
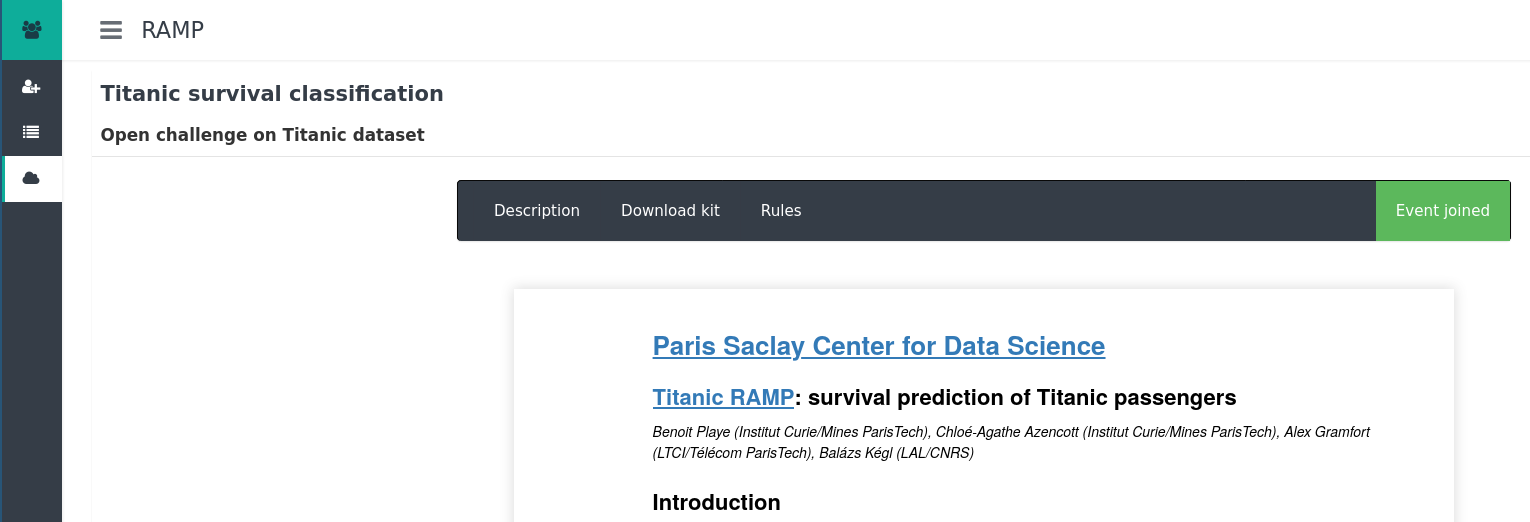
For a given challenge, go to the event to which you want to participate. If you did not join the event yet, you will need to click on “Join event”.

For most of the events, your registration needs to be validated by an event administrator. During this transition, you see the status “Waiting approval…”.

Once you are approved, you will see the status “Event joined”.

Once your sign up as been approved you will have access to a number of menu options on the left-hand side:
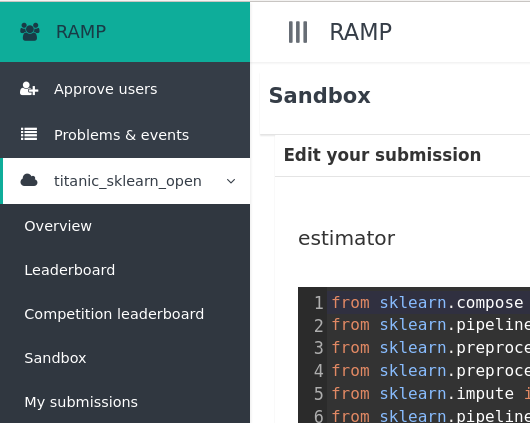
Leaderboard: it contains a summary of all submissions performance from all event’s participants;
Competition leaderboard: it contains only the best submission for each participant;
Sandbox: it is your sandbox to make a submission to the event;
My submissions: it shows information regarding all your submissions.
To make a submission go to your “Sandbox”. Paste the code of your submission that you earlier validated with
ramp-testcommand-line. If you wish, you can save your submission and come back to it later by clicking on “Save for later”. If you are ready, you can click on “Submit now”. You will get the following window: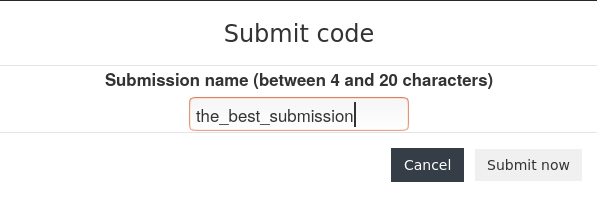
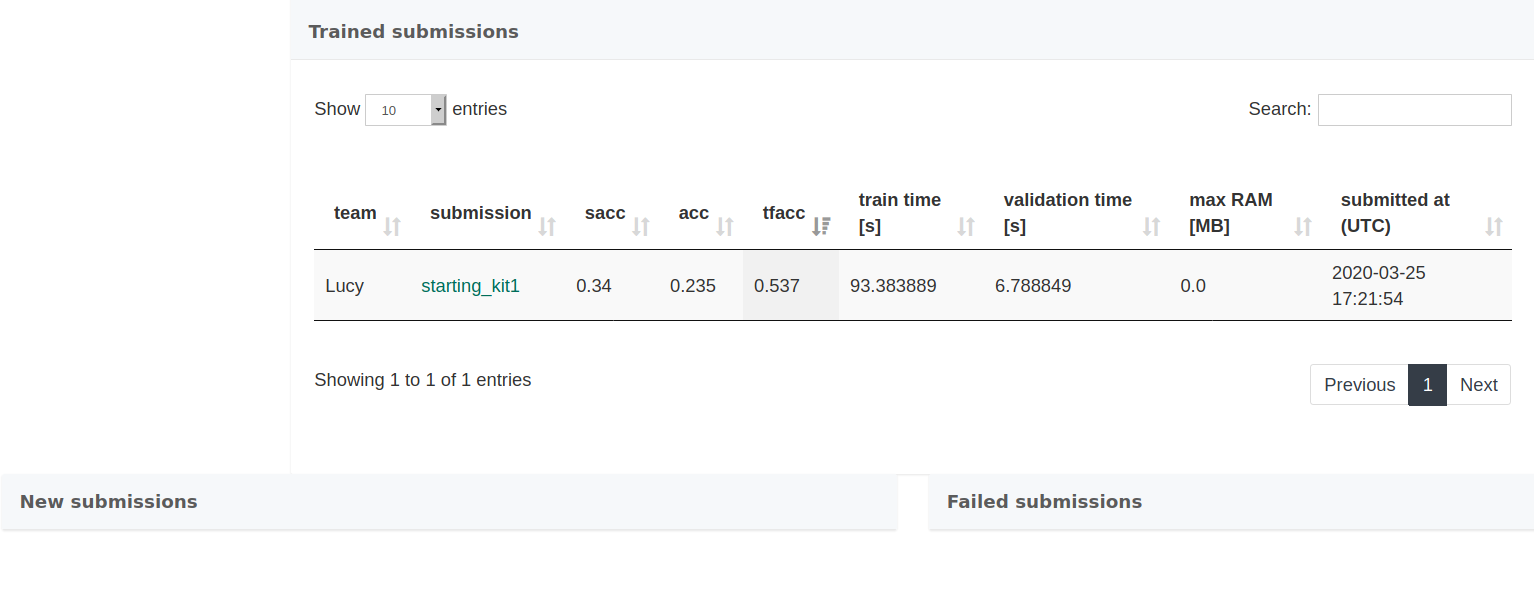
You need to enter a submission name, without any spaces, containing between 4 and 20 characters. When ready, click on “Submit now”. Ensure each submission has a unique name. Shortly afterward, your submission will be sent for training and you will be able to see the status of your submission in “My submissions”. When your submission is waiting in the queue to be trained, it will appear in the table “New submissions”. Once trained it will either appear in “Trained submissions” (if it trained successfully) or in “Failed submissions”. If your submission failed, you can click on the error to see part of the trace.